Tips & Tricks for Using Detailed Background Stamps
Share
Background stamps can be tricky in general just because of the size, but the more detailed ones definitely require some extra effort! Very detailed background stamps require a lot of pressure/contact with the paper due to having so many fine details in a large space.
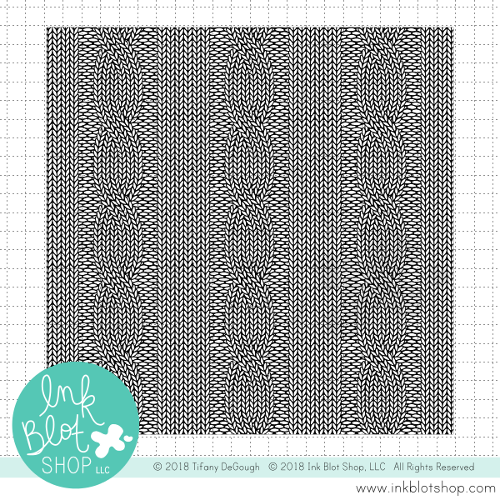
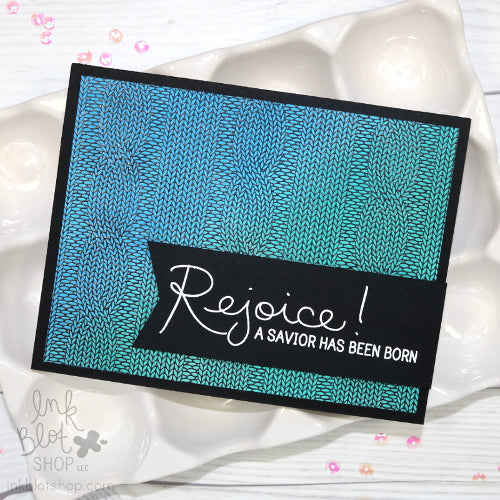
 The Cable Knit Background is one of the most detailed from Ink Blot Shop (it took me soooo many hours to design this one...but I think it was worth it!) and the Micro Gingham Background is another very detailed background. The following stamping tips can be helpful for stamping any backgrounds, but detailed stamps like these will especially benefit from these tips.

Here are some tips for getting the best results from your background stamps:
- Rub the palm/heel of your hand over your stamp before inking to give it a "buffed" surface that will help the ink settle on the stamp more evenly.
- Ink it up & stamp it several times on a scrap piece of paper or cardstock in order to really get it "primed" for stamping. Sometimes it takes several passes before the stamps really take ink well, especially when they are detailed.
- Make sure your ink pads are very juicy, and be sure to give full, even coverage with your ink. Because of the large surface being covered on background stamps, sometimes you may see lines where the edges of your inkpad have been pressed on the surface (and these lines may be especially noticeable when using smaller ink cubes).
- Try using inks such as VersaFine, Distress Oxide inks (not regular Distress inks), and Gina K's Amaglam ink (such as Obsidian). These work well because they seem to have some sort of a pigment property, so if you have other pigment inks or inks with pigment properties, those may work also. You want something that really sits on top of the paper rather than sinking in as it will provide more even coverage on the paper when transferring the ink.
- You can try a layer of clear embossing ink underneath a dye ink as an alternative to the pigment ink. Just ink up with clear embossing ink, then (without stamping) add your dye ink. Sometimes this helps.
- It is possible that an additional layer of fun foam under your cardstock may help.
- Using a stamp platform can be helpful. When lifting the lid, sometimes the cardstock comes up kind of "stuck" to the stamp...in this case, leave it in place, cover it with a piece of scrap paper (while still in place), and rub your hands over it for some extra pressure. Make sure the stamp is laid on the platform evenly, with no bubbles. Often there are small air bubbles (that we cannot see) trapped under big stamps like this and that can give inconsistent/spotty results. If you are getting blank spots in the stamp each time: try lifting and repositioning your stamp on your stamp platform to make sure there are no bubbles. If you reposition your stamp and get blank spots in new areas, this indicates that it is likely a bubble issue, and you may get better results from using the stamp without a stamp platform.
- As an alternative to a stamp platform, lay your background stamp on a very flat/firm work surface with the image side facing up. (Again, make sure there are no air bubbles trapped underneath.) Place your cardstock face down on the background stamp and cover with a scrap piece of paper. Use your hands to evenly put pressure all over. This method often gives better coverage than using a stamp platform, particularly when combined with inks that have pigment properties to them.
Give some (or all) of these different stamping methods a try and see which one works best for your detailed background stamps!

