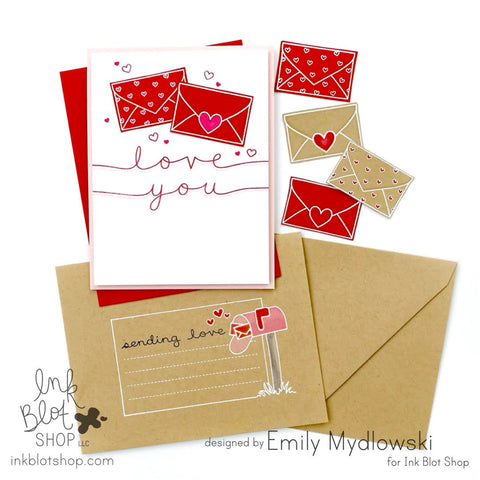
Valentine’s Day Love Notes Envelope & Card Set
Hi Friends! Emily Mydlowski here with you today and I’m so excited to be on the Ink Blot Shop Blog with my first Design Team Blog Post! The Valentine/Galentine Holiday is one of my favorite cardmaking seasons with all the Hearts, Loves and Pinks & Reds. With Valentine’s Day right around the corner, I’m sharing an Embossed Love Letter Card & Envelope Set using the Sending Love & Stretched Sentiments stamp sets.

Creating the Love Notes Card & Envelope
Embossing Process
One of my favorite cardmaking techniques is heat embossing and it shows up on almost every paper craft I make. Here’s my Quick 4-Step Heat Embossing Process:
Prep your paper with a static powder tool.
Stamp image with an embossing ink — I use VersaMark Ink.
Pour your favorite embossing powder over the stamped image. Give your paper a quick tap or flick to remove excess powder and remove any stray bits of powder with the tip of a dry point paint brush.
Let your heat gun heat up just a little before applying it to your paper. Heat-set the embossing powder by moving the heat gun across the image. Be sure not to keep the heat gun pointed at your paper too long or it can burn your paper. It can happen fast!
Envelope Decorating
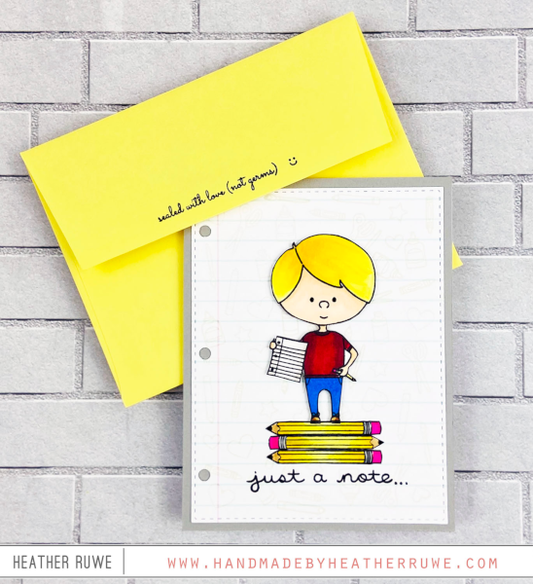
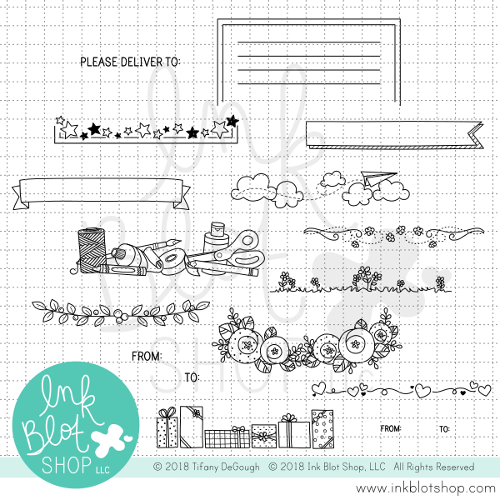
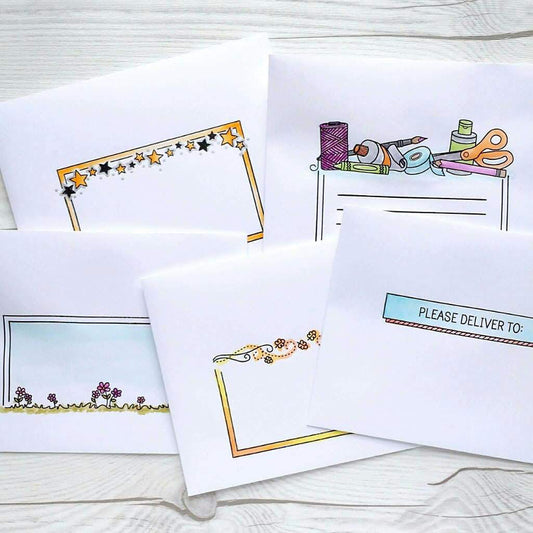
For the decorated envelope, I stamped and embossed the Address Label from the Sending Love Stamp Set (masking the sun) with white embossing powder to a Kraft Envelope. Then I colored the image with pink/red and grey colored pencils.

Tip: When coloring envelopes, I insert a piece of cardstock inside the envelope before coloring. For colored pencils this gives me a nice flat/smooth surface to color on and for Copic coloring the cardstock insert prevents color bleeding through to the back of the envelope.
To finish the envelope, I stamped the Sending Love sentiment in VersaFine Clair Nocturne Ink.
Cardmaking Details
For the Love Notes Card, I stamped and heat embossed the envelope images with white embossing powder to red cardstock and fussy cut the images.

I placed a white card panel in my MISTI, I added the red envelopes to the top of the card panel so I could position the Love & You Stretched Sentiments. Then I stamped the sentiments with dark red ink. I moved the card panel up “just a smidge” in the MISTI before stamping the sentiments with light pink ink.

To finish the card, I stamped a few of the cute little hearts from the Stretched Sentiments stamp set in red ink and adhered the decorated card panel to a pink cardbase.
So there we are friends, a Clean & Simple Love Notes Envelope & Card Set using the Sending Love & Stretched Sentiments stamp sets. Hope you enjoy & Big Paper Hugs!
Creating the Love Notes Card & Envelope
Embossing Process
One of my favorite cardmaking techniques is heat embossing and it shows up on almost every paper craft I make. Here’s my Quick 4-Step Heat Embossing Process:
Prep your paper with a static powder tool.
Stamp image with an embossing ink — I use VersaMark Ink.
Pour your favorite embossing powder over the stamped image. Give your paper a quick tap or flick to remove excess powder and remove any stray bits of powder with the tip of a dry point paint brush.
Let your heat gun heat up just a little before applying it to your paper. Heat-set the embossing powder by moving the heat gun across the image. Be sure not to keep the heat gun pointed at your paper too long or it can burn your paper. It can happen fast!
Envelope Decorating
For the decorated envelope, I stamped and embossed the Address Label from the Sending Love Stamp Set (masking the sun) with white embossing powder to a Kraft Envelope. Then I colored the image with pink/red and grey colored pencils.
Tip: When coloring envelopes, I insert a piece of cardstock inside the envelope before coloring. For colored pencils this gives me a nice flat/smooth surface to color on and for Copic coloring the cardstock insert prevents color bleeding through to the back of the envelope.
To finish the envelope, I stamped the Sending Love sentiment in VersaFine Clair Nocturne Ink.
Cardmaking Details
For the Love Notes Card, I stamped and heat embossed the envelope images with white embossing powder to red cardstock and fussy cut the images.
I placed a white card panel in my MISTI, I added the red envelopes to the top of the card panel so I could position the Love & You Stretched Sentiments. Then I stamped the sentiments with dark red ink. I moved the card panel up “just a smidge” in the MISTI before stamping the sentiments with light pink ink.
To finish the card, I stamped a few of the cute little hearts from the Stretched Sentiments stamp set in red ink and adhered the decorated card panel to a pink cardbase.
So there we are friends, a Clean & Simple Love Notes Envelope & Card Set using the Sending Love & Stretched Sentiments stamp sets. Hope you enjoy & Big Paper Hugs!

1 comment
Thank you Emily for such a detailed tutorial on the Valentine’s Day Love Notes card. It is so charming. I am a beginner card maker so your tutorial is greatly appreciated. I would also love to know the colors you used as well in your future blog article. Thanks.