Pixel Grid Heart Card
Hello! Laurie with you today to share a card that had it’s fair share of ups and downs! The vision I had for this project is nothing like the finished card but that’s okay, I’m happy with the end result.
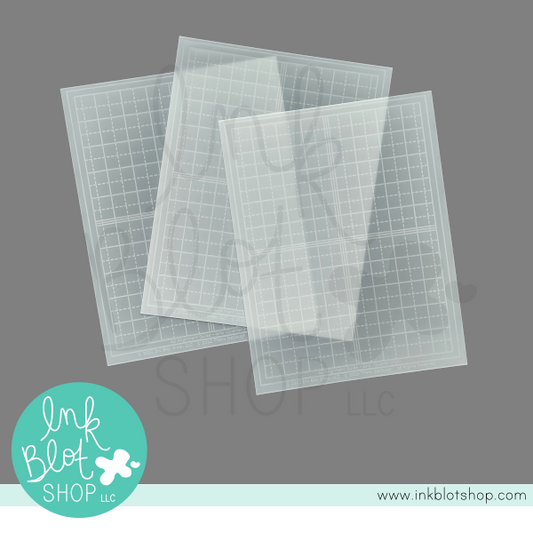
 My original plan was for this card to be one layer. I started by using the Pixel Grid Stencil Set along with the included heart masks.
 I laid down the 6X6 Grid portion of the stencil first. Then layered the various heart sizes over the top. This result is very cool looking grid hearts.
 Once the hearts were complete on the panel, I added the heart MASKS over each heart and put the Grid stencil back over the top. I used a warm grey ink but once I removed the stencil, I wasn’t a fan of the look. But looking at the photo now, I don’t seem to mind it!!
 This is where things went a little off course. I decided to fussy cut each heart out. I also used the Spaced Out Greetings Stamp Set to heat emboss the greetings “hey”, “hi” and “hello” into the grid hearts. This set was made to coordinate with the Pixel Grid Stencil Set.
 Now to add a technique that I always forget about…dry embossing with stencils! I used the Grid Stencil to add texture to a white card panel. I have a Big Shot and here’s the “sandwich” I used: platform, cutting plate, rubber embossing mat, cardstock, stencil and cutting plate. I ran it through twice and it turned out great!!
 I trimmed the embossed panel down slightly and used a corner punch to round the corners. I decided to place the panel onto a piece of grey cardstock to add a bit of separation between the base and the card front.
 I foam mounted each heart and decided to add one of the cute images from the Little Sweeties Stamp Set, which I happened to have already coloured! To add a bit more balance, I added a few grey gems to the left side of the card
 I really “went with the flow” on this card! And while it wasn’t exactly what I had envisioned, I like how it turned out and the time spent creating is ALWAYS good!!
Thanks so much for stopping by! See you soon!
Laurie
Thanks so much for stopping by! See you soon!
Laurie